Thursday, May 24, 2007

A Park..some where to stroll

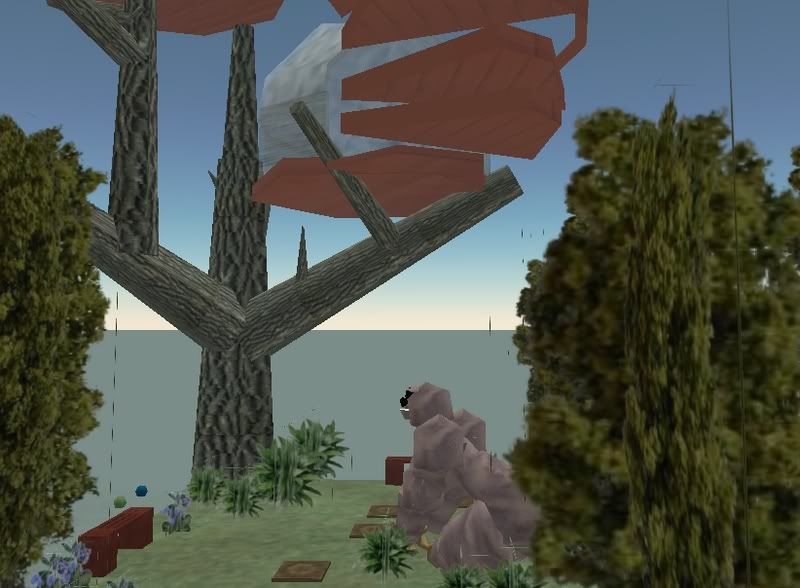
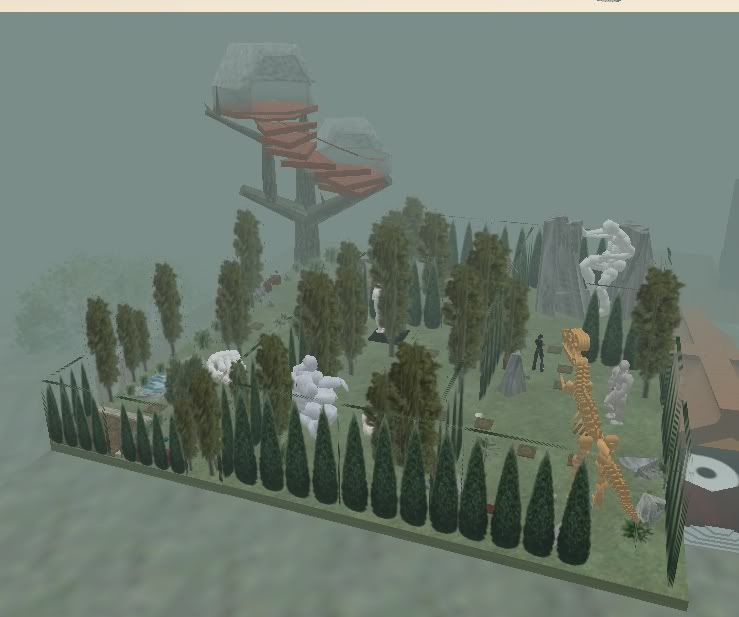
This is an area I'm tinkering around in. Just odds and ends I've made and put in a park setting. Nothing special about -- it's just things.. And it doesn’t stay very long, its in a sandbox. :D


First thing you see from the landing pad (lower left corner) is a little babbling pond and a sculpture. There some benches to sit on as well.


Follow the path to “Ape and his home”


Keep going and what ho!! A Totem Pole “Three Desires”


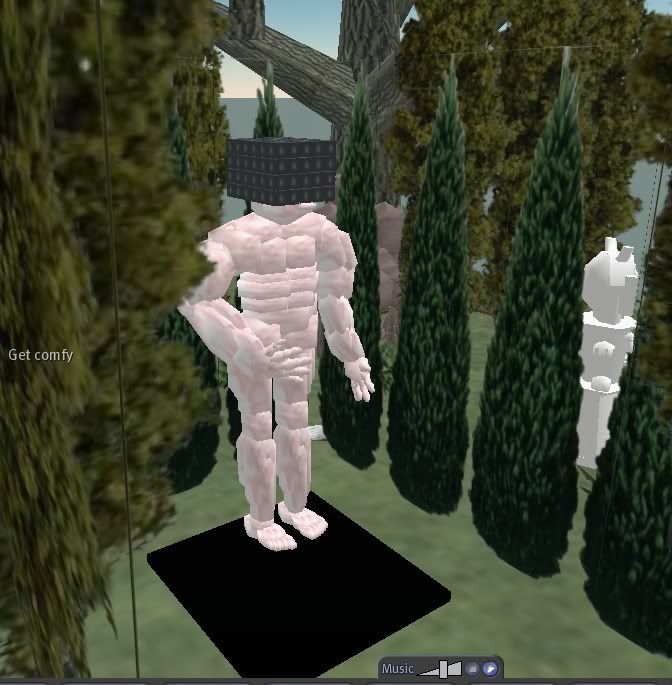
Round the corner and “SL Blinded Man”


Just off from that is “Long Day”


Turn around and you are in the “Jurassic Era” with the "Man of Steel".


Keep going to “Making The Panama Canal”


Of course this isnt finished. I keep adding things!


Tuesday, May 22, 2007

Gestures - Lets Get Rowdy!

So your standing around in a group of people and it gets that awkward silence…what to do? A Gesture!!! ^^YIFFY!!^^

These fun little things are sort of like the AOs you see other AVs doing but these are usually funny.

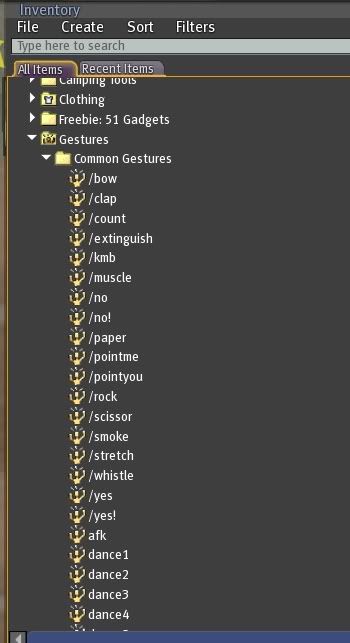
You have some preloaded Gestures in your Inventory already and some are active… :o!


"Active" is the key thing with Gestures.

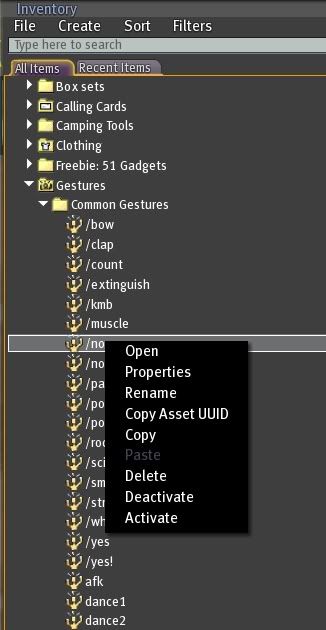
If someone gives you one, lets say a “no” Gesture, right click it and you will see “Activate“, now you can use it-- but how? It also is sort of highlighted in the list to show its activated.


See how its typed? Just type this in the chat box and add a slash “/no”.

They are also listed in the pull down option next to the Chat box. So if you are a super bad typest like me you won't mess up. :D

What if you sort of wanted to make your very own Gesture? (Well thats what I'm here for!!) :D.

Go to your Inventory and find the "Gestures Folder"

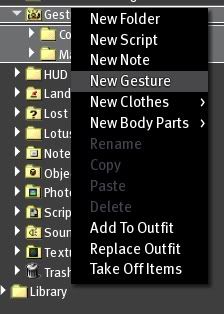
Right click the "Gestures Folder" and select “New Gesture”. (It makes a new little Icon like a guy/girl is dancing.)


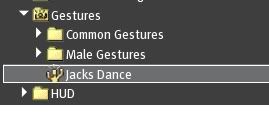
Right click the New Gesture and rename it. I named mine “Jacks Dance”

Double-click the Gesture and the Gesture Edit box will open.

Type a description of the Gesture in the Description Field.

(Jacks Dance) <~~ So original!

Choose a Shortcut Key combo to trigger the Gesture “Shift-F3” or type a text trigger in the Trigger field. For example, “/JacksDance“. Then you can trigger this gesture by typing “/JacksDance” in the chat line or Shift-F3 orrr using the Gesture button next to chatbox.


In the Steps Field box there are 3 default steps. Select each one and click the Remove button

<~ About to add a Gesture!


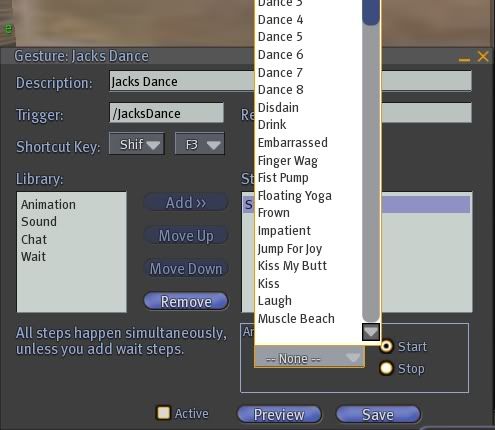
Under Library box click “Animation” and click the “Add” button. Since we are doing an animation.

Select the Animation you want from the “Animation to play” dropdown menu (I only had the default ones but you may have some nifty ones.)

Rinse and Repeat if you want to add more Animations to the Gesture.

You can also add text and sounds the same way. You can use the “Preview” button to check Animations are working together. Click the “Active” checkbox, click “Save” button and close the Gesture window. Parteh Onnnn!

Also if you have some Gestures and want to modify, say take out the Text (stuff that pops up in the chat) you can do that too.


Friday, May 18, 2007

Posing stands aren’t only for Posers!

This is a short and sweet little tip.

I’m a big chicken when it comes to clicking things I don’t know in a Sandbox. You can find posing stands littered all over but I just made one for myself annnnd you can too!


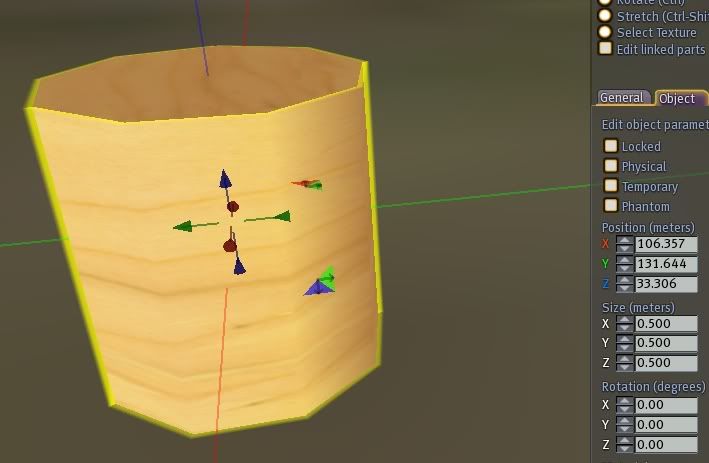
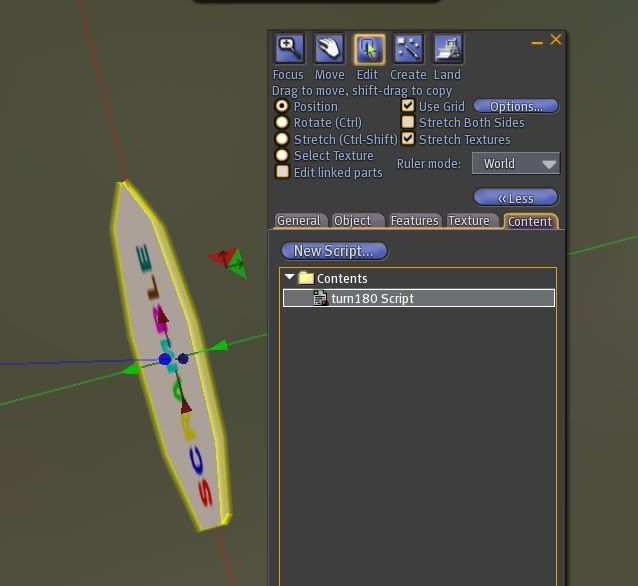
Lets Rezz a Cylinder and smoosh it down and stretch it some. I did these measurements.
X: 1.112 Y: 0.172 Z:0.142 ( I made this skinny so I could modify shoes)
Texture can be blank or maybe a favorite Photo -- anything!
(Scramble--its not for word Nerds anymore)
Now open up the Contents tab and Slide this Script in. Just click “New Script” and delete the default “Hello Avatar!” script.


Copy and Paste this one in it.
//Note: this code was adapted from someone.
//
key mkLoungingAgentKey = NULL_KEY;
integer miPermissionsAcquired = FALSE;
default
{
state_entry()
{
//overriden sit target
//lower them a bit
vector vLoungeTarget = <0.00,0.000,1.00>;
rotation rX;
rotation rY;
rotation rZ;
rotation r;
//build rotations
//Note: this is broken out like this to simplify the
// process of finding the correct sit angle. I
// use the following form until I have the rotation
// that I want perfect, and then I simply
// hardcode the perfected quaterion and remove
// this mess.
//
rX = llAxisAngle2Rot( <1,0,0>, 0 * DEG_TO_RAD); //cartwheel
rY = llAxisAngle2Rot( <0,1,0>, 0 * DEG_TO_RAD); //sumersault
rZ = llAxisAngle2Rot( <0,0,1>, 0 * DEG_TO_RAD); //turn in place
//combine rotations
r = rX * rY * rZ;
//override 'sit' on pie menu
llSetSitText( "Stand" );
//override default sit target and rotation on prim
llSitTarget( vLoungeTarget, r );
}
changed(integer change)
{
if (change & CHANGED_LINK)
{
key agent = llAvatarOnSitTarget();
if ( mkLoungingAgentKey == NULL_KEY && agent != NULL_KEY )
{
//changed user
//cache new user key and request their permissions
mkLoungingAgentKey = agent;
llRequestPermissions(mkLoungingAgentKey,PERMISSION_TRIGGER_ANIMATION);
}
else if ( mkLoungingAgentKey != NULL_KEY && agent == NULL_KEY)
{
//user is getting up
if ( miPermissionsAcquired )
{
//restore anims
llStopAnimation("turn_180");
}
//reset the script to release permissions
llResetScript();
}
}
}
run_time_permissions(integer parm)
{
if(parm == PERMISSION_TRIGGER_ANIMATION)
{
//set permission flag
miPermissionsAcquired = TRUE;
//cancel the sit anim
llStopAnimation("sit");
llStartAnimation("turn_180");
}
}
}


Save and then wait for it to compile.
Go to General Tab and Name it something you will know “Posing Stand” .
Take it in your Inventory or Stand on it and strike pose!


Sunday, May 6, 2007

Hairy situations

So you bought some hair hey? You right click it and “Wear” and you have bald spots!!

What to do? Run run RUN!! To a Sandbox and throw down a posing stand.
(See Posing Stand)

Ok I believe in safety, so first thing we are going to do is make a copy of our new hair.


Open up your Inventory and go to the New hair you just bought and Right click it and “Copy” in that same folder “Paste” your hair again. Then right click the new file and “Rename” (what ever you want to call it) (I usually throw in a "1" after the orignal name).


Throw down that posing stand and lets get to umm Hair Dressing! :D

See the bald spot?


You: “Hey, that isn’t your AV Jacks!!”
Me; “Nope, not only that, I wouldn’t be caught with a bald spot” :D

It's my brothers AV >;)

Right click the Hair and the Edit box will pop up.


Check Stretch (Crtl-Shift) and the Stretch Both Sides radio buttons. You will now see white boxes around your head. Grab one of the ones above your head and “pull up” with your mouse ever so slightly. This will make the hair umm grow :D

(Aww Mark has some Rogaine)

Yank it up until you don’t see any bald spots on your head. Do it sort of slow so that the hair has time to fully Rezz.


Have a wild hair? ;) in the Edit box check “Edit linked parts” radio button so you can select that one disturbing hair.
Check the “Position” radio button and use the colored arrows to slide it where you want the single hair.
You can now get rid of the other old non fitting hair or keep it and tinker some more.


Aww hes sooooo pretty!!


Friday, May 4, 2007

It’s easy.. Or how to make a cheap house

I just wanted to show you how easy it was to make a house -- a very simple one just to give you some building ideas. This is NOT made with Builders Buddy or a Grid or hidden wires :D just eyeballing it.


First Rezz the foundation , simple one with these measurements X: 10.000 Y:10.00 Z:0.500.


Then copy with the arrows trick and make an exact copy of it -- Until I resized it to X: 5.000 Y: 9.800 Z: 0.500.


Then rotated it X 90.00 Y0.00 Z: 270. (See Builders Tips)


Once again I did the arrow copy and slid that over to the other side for the opposite wall. Weeee!! 2 walls up we be jamming! (can you find the mystery builder?) :D
The back wall I kept the original the X:5.000 Y:10.000 Z:0.500. With a Rotation of X:0.00 Y:90.00 Z: 0.00.


Now the front wall with the door. Copy with the Arrow trick and slide the back wall as a front of the house wall. Changing the size to this X: 5.000 Y: 3.500 Z: 0.500 and put it on one side (we will add the door in the middle this go round) Take your newly made half wall and slide that over to the other side so you have an opening in the middle.

Now we need to make a portion of the door I just slid and copied one of the half walls in the opening and made these changes X: 1.000 Y:3.000 Z: 0.500 and positioned it at the top. (don't be hating my bunny shoes...I made those too).


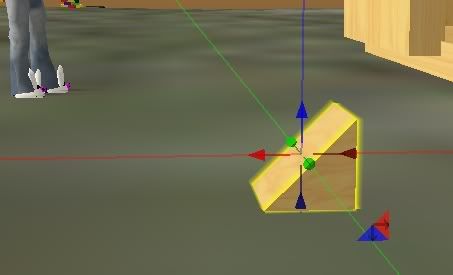
Now for the Eave part. Just Rezz a Box but it’s the one that looks like a triangle on the Edit Box and do these measurements. X 7.700 Y: .0.500 Z: .7.500 with a rotation of X: 135.00 Y:0.000 Z: 270.00 ease that in the proper place on the roof.

Once again Rezz a box in the ground with X:10.000 Y:10.000 Z:0.500 and rotation of X: 315.00 Y:0.00 Z:0.00 for one side of the roof. Do that arrow copy trick and slide it over to the other side with a Rotation of X: 45.00 Y:0.00 Z: 0.00.


You might need to make minor adjustments here and there just to get it arranged properly.
After you get it set Select the Whole house and Crtl-L to link it all together. Rename the whole thing something like “Test house”. Right click it and Take it into your Inventory. Later we will put windows in and a door to keep out the flies and texture it.

The best way to learn to build houses is to of course ask, there are some really good home builders on SL. Also take some of the freebie ones and drop them and tear them apart, see how they were constructed. Maybe try to look at some that are being built and get a handle on that.
My favorite thing to do is to look at other houses, and try to make them (so I know what they are supposed to look like) DONT SELL THEM, just make them and hone up your building skills, then get out there and make something! Most of all have fun doing it, thats part of the game.


Thursday, May 3, 2007

Groups or Lets not be a SL Loner

Groups on SL are like gangs (throws gang sign). You can join up to 25 of them and then SL cuts you off. You can Join them on your own or be invited or MAKE them!!

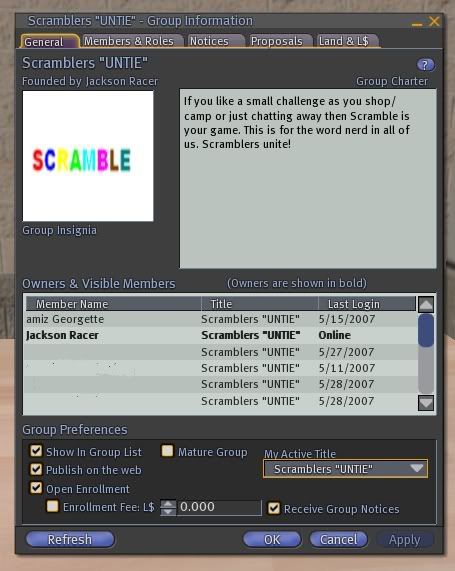
I made one once called “Scramblers Untie” at the time I hung out in this one place and they had a Scramble ball. (end of story) Joining is easy, if you look around the club or shop you will see a “Join Us” somewhere in the joint. Some are super simple that require one click, some ask you questions about your interests in SL (For shops and their merchandise ideas), Once you join you get a prompt that you have been added to the group. Weeee Now the fun begins!

You will receive group notices by IM or a wicked Prompt usually with an attachment, maybe about a sale (½ price on all clothes) or a party theme (PJ night at the club). I just “OK” them and go on with my SL life. Its good manners not to use that IM chat as your own personal chat IM. Owners use that to give notices -- not us regular kind of folk. :D

On the top of your screen go to Edit and scroll down to Groups… <~~~ umm our subject :D A box will pop up (Aren’t I a popular kinda happening guy in a groovy way….)


There is a listing of all the Groups I am in (Two of them, wow!). You can select one and Click the Activate button and just above your SL name will appear that Group Title.
Info has all sorts of cool tabs on it
Leave is to leave a group ( I had to one time, they were sending too many IMs )
Create ( get to that in below)
Search button (will bring up the search box)
Close (closes the box) :D

Creating a Group… now I had a hard time doing this the first time because I’m stupid. (I'm missing a tiny step and I can't remember and dont have 100 $L to make one so yeah) Maybe I can help you make one.


Top of the SL screen Edit and scroll down to Group , that same box appears this time we Click “Create” .

Another Box will pop up. The very top is a field to type the name of your New Group, its sort of like a profile set up. You can add a picture and then to the right of that give it the Group Charter. I kept mine as a “Open Enrollment” so anyone could join, if you think you are cool enough you can charge for it. I know this umm one Village that if you want to be a Noble you have to pay. (great idea!!) Click the “OK” button
Once you name it SL is going to Pop up with “Creating this group will cost you L$100. Are you really, really, REALLY sure you want to spend L$100 to create this group?” If you click "Yes" then WABAM a new group is created, make sure on the General Tab you change your “My Active Title” to the New group. (There is something on the Members Tab in the lower corner you have to put the name of the Group in again for it to appear on the screen, otherwise you have "Member" showing above your AV name, which got me a few laughs for a while) :D


Saturday, April 28, 2007

Wonderful World of Wiki

When I first started out trying to script, everyone said “Have you looked at the Wiki?” Uggh I did! I hated it, it looked to be a jumble of words and phrases or it was my ADHD kicking in!!
So one day I took my time and decided to try and figure it out. The first thing I did was the “Hello Avatar!” Script and breaking that down.
I guess its like breaking down a sentence with the verbs and nouns and adjectives.

You have to determine what you want your script to do. Currently I’m working on a HUD to do some static poses for a cheerleading HUD. I don’t want pose balls so and I don’t want to open the animation and use “Play in world” option because I may sell these suckers if I perfect it.

Heres where I stand:

Friday, April 27, 2007

Scripting, Oh my!!

Scripts are handy, they can make objects hop around or say things or give out items or even make YOUR avatar do actions.

I’m a Frankenscriptor i.e. I take bits and pieces of scripts and put them together… What I plan to do is take excerpts from the wiki to learn how to script, or at least get an idea of scripting... In what I call *Jacks speak* something very simple and low tech.

Starting off with the *Hello Avatar default script.*

Why am I doing this? To get a handle on something fairly important in Second Life that also might make SL a little more fun or frustrating.

First off we need to make a prim!

Click the ground and chose * Create * in the pie chart, you will have that handy wand as your curser so tap the ground and hopefully a box will appear on the ground.

Still in the Edit menu

Click the *More* button and then the *Contents* tab.

Click the *New Script* button and you will see what looks to be a note with lines on it.
If you right click that and choose *open* you will see the new default script.


default
{
state_entry()
{ llSay(0, "Hello, Avatar!");
} touch_start(integer total_number)
{ llSay(0, "Touched.");
}
}

Close out the edit menu and click the new prim with the default script and your box will *speak* to you.

Ahhh!! Well that was easy… let’s learn more about this tiny script.

If you notice a scripter tries their best to keep the scripts clean and easy to read.

So, in the above script you have...

an event.

Then a function.

And maybe another event.

Then another function.

(I have to get my scripts to show corectly on this web page)

Parts of a script: As I learn more I’m sure this list will grow!!


// used to comment about the script… like a little note for you to know what’s going on.

{ } these are brackets; they encase the codes that are in scripts.

ll this is a Function it’s the part of the script that *does something*

The ; is like a break in the code as if you were writing a sentence it would be a comma.


Per the wiki the default code above has 1 State, 2 Events and 2 Functions:


The *State* in a script is like the status that the script is in and only one state can be active or running at any one time per script. Examples of states would be a light being on or off or window that is open or closed.

The *Event* in a script starts the code to working. Like when you click the box the box will say *touched*.

The *Function* are the action part of the script. Like change color or say something.

A script will always have a Default state, if I’m guessing right:

default

{

state_entry () // this is where the script starts when the script first enters the SL world

}

llSay (0,”Hello, Avatar!”); // this part is function of the code to say Hello Avatar! on channel 0

touch_start (integer total_number) // another event this time when someone clicks or touches the prim

}

llSay(0, “Touched.”); // another function when the prim will say touched when clicked

}

} // code closing brackets


In the Event of the llSay you see (0, "Touched."); this is like the container of what the Event will do. In other words we are telling the prim to *Say* “Touched” on channel zero.
Thursday, April 26, 2007

Making Snapshots >:)

When I first started SL I didn’t care anything about pictures pfft who needed them? 10 whole Lindens to have a picture? Bah!! I mean really, how can you remember that cool person you met or the fun times? Besides adding them to your Profile and making that nifty picture viewer! (See Picture Viewer) Oh what fun we can have now!

Now what’s cool on this blog page, you can learn camera controls and making that funny Profile and of course the viewer.

“Now, just how do you take a picture Jacks?” you’d say. Well of course you want that perfect setting, then the perfect person to take of or with.

Using the Camera Controls is very handy or the key strokes of holding your left mouse button and the Alt key. Just to get that Photo centered.

You can use the top of your screen under File and scroll down to Take Snapshot or the key strokes of Ctrl-Shift-S. I find the keystrokes are very useful when you want to take that shot (say on a pose ball) and you want it at the perfect time.


Then a box will pop up. I always save my snapshots to the hard drive so I can play with them in Photo Shop or super quick in Paint.
On the Image size (I use Current Window for the very reason why I use my Paint program to crop what I want. )
Capture In Colors

Show interface in the snapshot (gives you the whole SL screen with menu bar and everything on your screen-- Like my Camera Controls)

Show HUD objects in snapshot (is just what it says. If you have a HUD on your screen then its in the picture too)

Keep open after saving <~~ I never use it

Keep specified aspect ratio <~~ I never use it

Freeze frame (Full screen preview) <~~ I never use it

The New Snapshot (is like a retake umm someone blinked)

Auto snapshot (when you open or do the key strokes you will see a picture below)

Save button (will Save that picture --duh)

Discard button (chunks it-- double duh)


Once you save the pic, you can open it in Paint and crop it just as you want. Then File Save As and rename the picture there.

Now to upload that shot, go back to the top of your menu screen in SL under File and Upload Image (L$10) or use the easy key strokes Crtl-U.


Find the snapshot on your hard drive and up load it. There will be a faint "Uploading..." in the middle of you screen and in a few minutes your photo will appear. Click Keep.

Mine are saved in the Textures folder in the Inventory, so its good to name them as you go, so you can locate them. I then slide it up in the Photo Album Folder (where is should be) :D
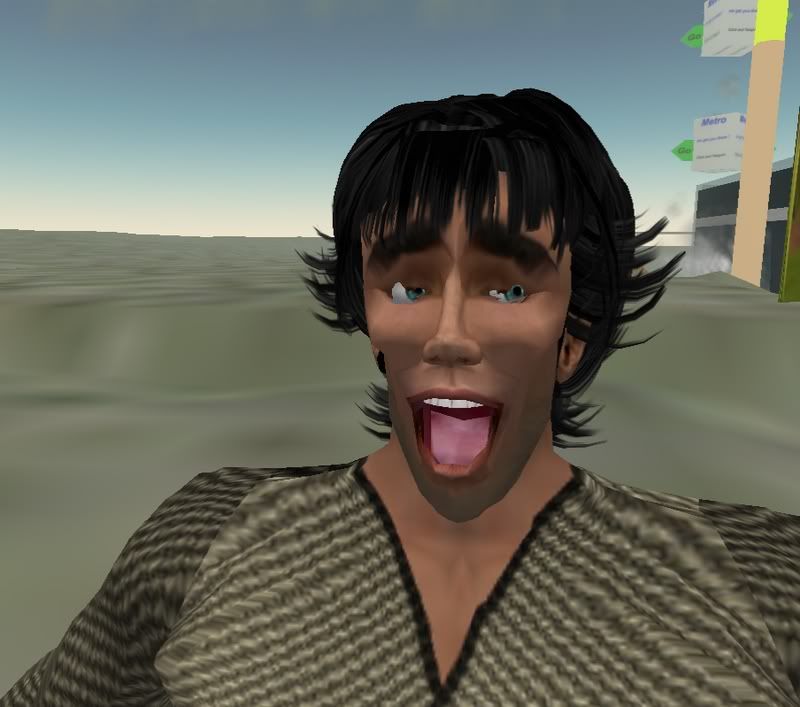
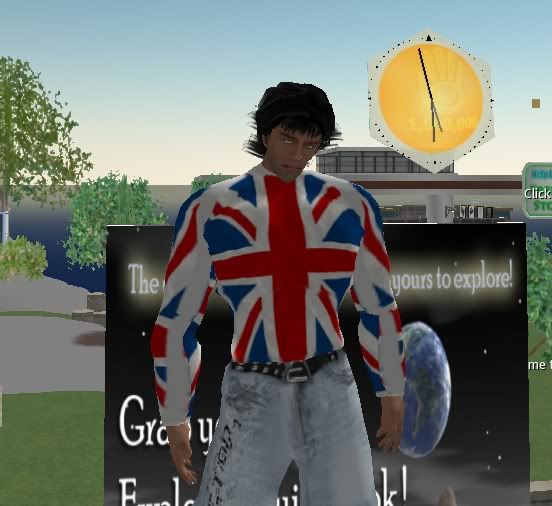
You can pass these bad bois along to all your friends or the options above all for free. I think it’s a courtesy, if a pal gives you a snapshot some time you should give one to them in return---


--- Unless it looks like this one......


TIP: For a nice midnight shot
Crtl P and then Graphics Details
Lighting Details: Check Nearby Local Lights
Do a crtl ~ to take super quick shots

Wednesday, April 25, 2007

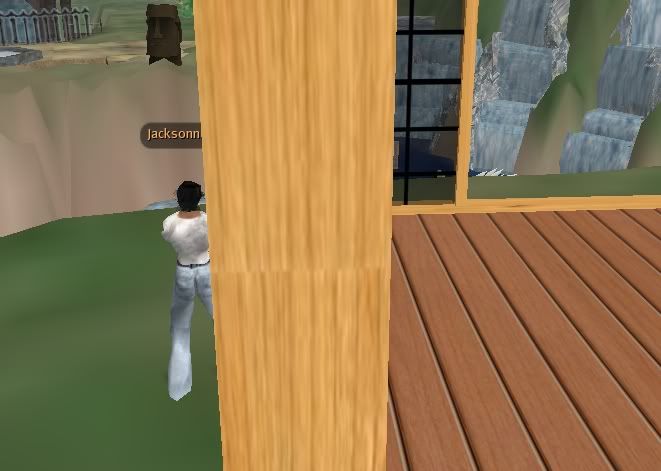
Camera controls Not just for snooping anymore!

I like my camera controls, when I first started SL and someone said use your camera controls I thought why the heck? I’m not going to take any pictures I will never need that. Ok, I was so wrong on both counts, I am a picture freak and a Camera Control guru.
There are two ways to access your Camera Controls one is to use your Alt Key and use your left mouse button and swirl around. That does a Zoom in or out and if you continue to hold you mouse button and click the Crtl button the you get the orbit views ( I don’t mean you get orbited, you just float around objects).


The second way is to Click your main menu bar at the top of the screen under View and then Scroll down and Camera Controls. If you do that you get a handy box. The right wheel moves your site of view left or right and up and down. The Left wheel umm swirls you around (for the lack of a better word) Left and right and up and down. These are super Handy as you build or other things……there is a zoom in as well.


I’m hyper and get bored very quickly and distracted fast…..”Oh a hot-tie at 9 o’clock!” How to see this cutie up close?….Ok this is border line stalking but you can use this for other things.


Open up those View controls and Swirl and slide over to your “target”


and see what develops… orrr not :D


You can use this for locked buildings you “Just have to” see in……


Or great Photo Ops with the love of your life :D


So if you see me in Help Island Public just standing around… I’m prolly using my Camera Controls checking things out…..Give me a wave :D