 So yep, if you remember in the previous post Slim Tank and if you don’t you can to the post and check it out. We needed to add a few extras to the Slim Aquarium.
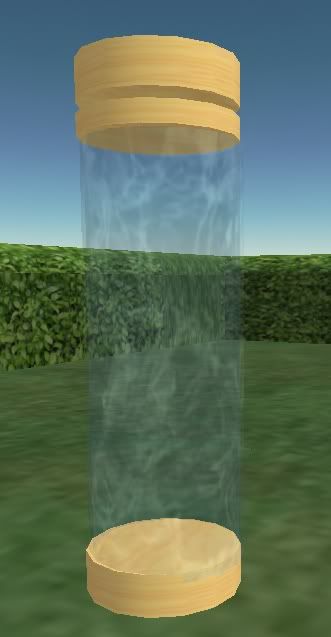
In disk 2, that’s the second one from the bottom or our glass part we needed to add a script to make the water umm more water like.
Click on disk 2 and Edit and then the More and then Contents Tab. There you want to Add New Script.
Open the script folder up and delete the “Hello Avatar!” Script that defaults there and add this one:
default
{
state_entry()
{
llSetTextureAnim(ANIM_ON SMOOTH LOOP, ALL_SIDES,0,0,0.0, 1,0.05);
}
}
This is the texture animator to make the water appear to be rolling around in the tank portion of the aquarium.
Save the script and let it compile. Wabam! Water swishing. :D
What about a annoying water sound? Do the same just click on new script and add this in.
(forgot script)
WABAM!! Water noises.
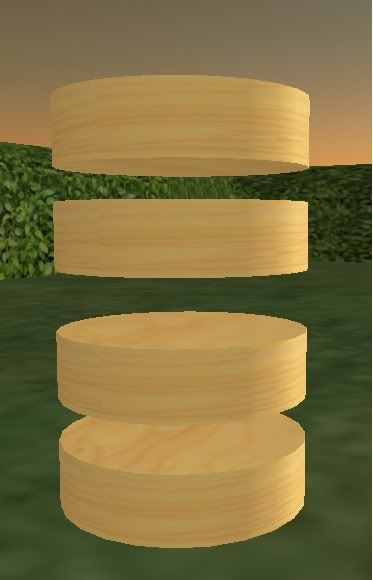
In Disk 3, that’s the third one from the bottom is our light. Every tank has to have a light, the fishes would go crazy and the plants would die. :D
Click on disk 3 and Edit and then the More button and then Contents Tab. Once again add a new script and delete the default one and add this one:
// Declare global fields.
//
integer gfLtOn; // Used to remember whether the light is on or off.
float gfLtIncr; // Used to hold the lighting increment to adjust with.
//============================================
// gmInitFields()
// gmInitFields()
{
//
// Set the default state of the lit object.
//
gfLtOn = TRUE;
//
// Set the increment to increase and decrease the lighting level.
// gfLtIncr = 0.01;
}
//
//
End of gmInitFields
//============================================
//============================================
// gmSetColor
// gmSetColor()
{
//------------------------
// Declare local variables
//
float l; // used for loop control and setting color vector v;
// used to hold a color value
//
// First, check to see if the object is already "lit" or not.
// if (gfLtOn)
{
//
// Yes, it is lit, so darken it. Do this within a loop.
//
// The loop below basically runs a color-setting loop where the
// the loop variable itself is used as the color increment. From
// what I can gather by seeing it work, color is held in a "vector"
// construct where the three values of the vector represent
// RED, GREEN, and BLUE values. The values apparently can range from
// 0.0 to 1.0 (they are floating point values--as vectors always
// are).
//
// Since this is the area where we darken the light source, I use
// the loop to decrement it's value from 1.0 to 0.0 in steps. The
// size of the step is defined in the field gfLtIncr.
// for (l = 1.0; l >= 0.0; l = l - gfLtIncr)
{
//
// Now that the value of l has been set, we need to assign
// that color to all the fields of the color vector v. To
// do that, we use direct assignments.
//
// In order to keep the color cycling of the object very
// non-colorful (since it is supposed to be a light source, // after all), we will adjust all three fields of the vector
// to the same value.
//
v.x = l; // Assign the color value l to the x field of v
v.y = l; // Same, but to y
v.z = l; // "
//
// Now that the color vector is set, assign that vector as the
// color of the object. Instruct the SetColor command to set
// the color to all sides of the object.
//
llSetColor(v, ALL_SIDES);
//
// Now we stay in the loop if we are not at the last color yet,
// or exit the loop if we are at the last color change.
//
}
}
else
{
//
// No, it is not lit, so light it up.
//
// As mentioned before, I use a loop to cycle through the color
// change of the light source. Since this time we are lighting the
// object up, we cycle the loop from 0.0 to 1.0 in gfLtIncr
// increments. Same methdology applies here.
// for (l = 0.0; l <= 1.0; l = l + gfLtIncr) { v.x = l; // v.y = l; // Same as before v.z = l; // llSetColor(v, ALL_SIDES); // Same here too. } } } // // End of gmSetColor //============================================ //============================================ // Default State // // This is the state that is automatically bootstrapped when the object // is first created/rez'd, or the world or environment resets. // default { // // state_entry() is the first method executed when the state it resides // in is run. So State A, B, and C all can have state_entry methods, // and if they do, they are run when their respective states are called // and or executed. // state_entry() { // // First, initialize the global fields. // gmInitFields(); // // Now set the object to it's default color state. // gmSetColor(); } touch_start(integer total_number) { // // The light has been touched. Now we can switch the state of the // light to what it is supposed to be. // // Since we are using this interger gfLtOn as a boolean, the // operation of reversing the state of the light from on to off to // on again can be done with a very simple application of the // boolean operator ! (not). While I normally like to code the // long way (the gmSetColor method could have been written more // efficiently), this is one place I like to take the shortcut. // gfLtOn = !gfLtOn; // // Now set the color of the light source. // gmSetColor(); } } Save the Script and let it compile. Wabam! Now you have a nifty light. Click it to see it come on and again and it turns dark. Next post we will Texture and add Fish Emitters and Plants.
No comments:
Post a Comment